How to Add a Zipper in 10 Easy Steps!
Have you always wondered how to sew a zipper on properly? Your life is about to change for the better! We have come up with an easy step-by-step guide to show you how. So, if you are tired of making projects with inside-out or upside-down zippers then read on!
Step 1
First, make sure the zip opens and closes – it is very frustrating if you sew it on and it doesn’t work!
Step 2
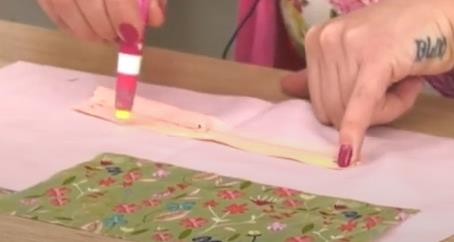
With the zipper facing you, apply the glue to half of fabric furthest from you.
Step 3
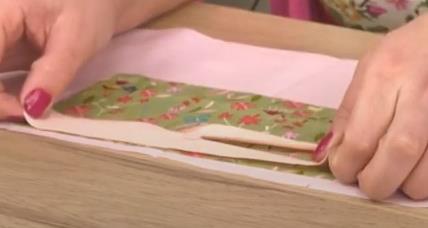
Now sit the zipper face down, halfway open, and push the side of the zipper with glue on it down onto the piece of fabric so that it is in line with the edge of the fabric.
Step 4
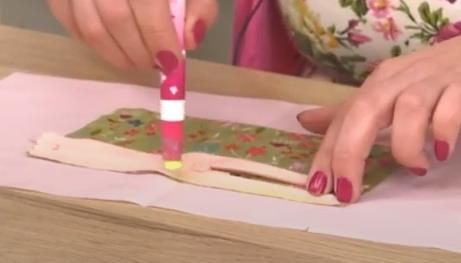
Next, put glue on the back half of the zipper (now facing you) which is in line with the edge.
Step 5
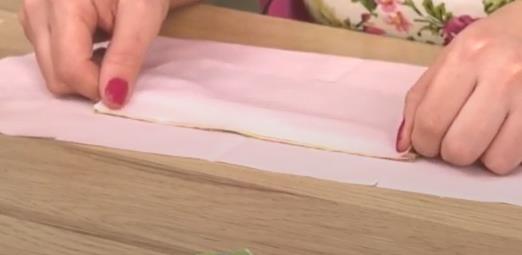
Press your lining fabric on top with an iron, making sure all edges are in line. For more sewing essentials, click here.
Step 6
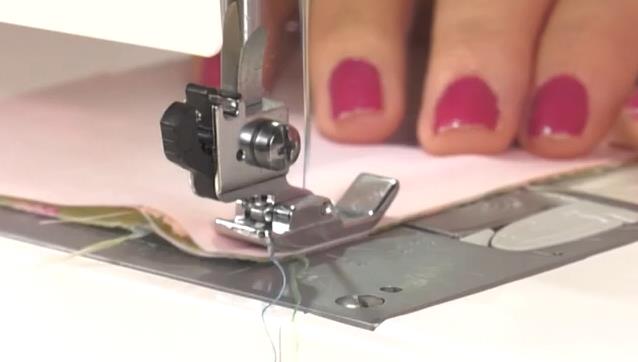
Time for the sewing! Using a zipper foot on your sewing machine, line up the side of the zipper foot with the edge of the fabric. Then simply sew a straight line from one edge of the fabric to the other. We recommend putting a pin in halfway and stopping at this point of the sewing to remove the pin and make sure you get out any creases.
Step 7
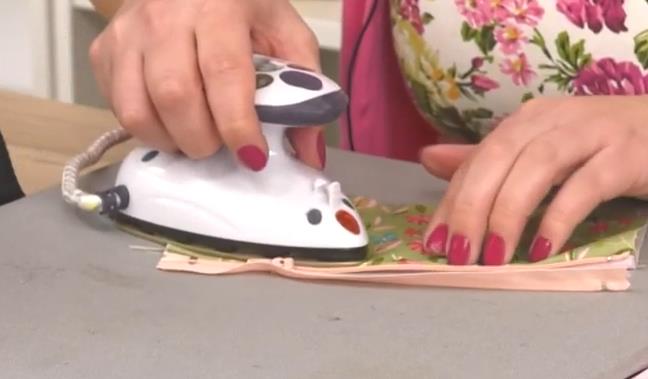
With an iron, press your fabric back to expose the zipper. Glue the top and bottom of the zipper’s fabric which is between the two sheets of fabric to help with this.
Step 8
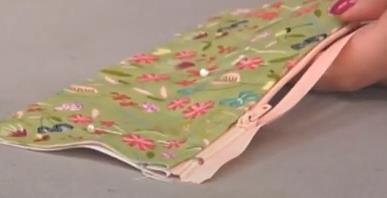
Next, add in another three pins to keep the fabric out of the way for the next step.
Step 9
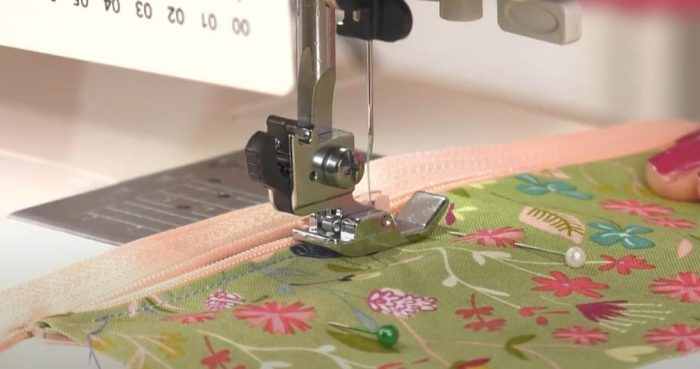
Get back to the sewing machine. The other side of the zipper foot needs to be in line with the zipper Once you get close to the zip, stop, lift the needle up, and zip up the zipper. Then continue to sew to the end.
Step 10
Repeat steps 1-9 on the other side of the zipper!
You are not done yet… There are still a couple of more steps before completion. Check out the below video tutorial from Living in Loveliness for full details.
Want to get started on sewing a zip onto one of your projects? Click here to get yours!


