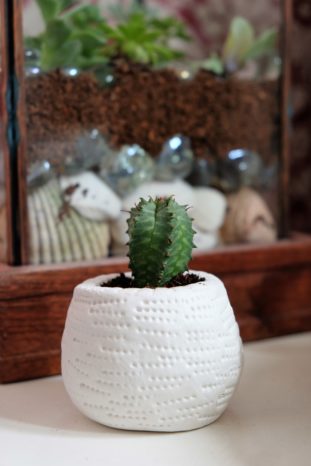
Make gorgeous pots with air drying clay and your own fair hands.
You will need
Air Drying Clay
Clay Modelling Tools (Biros, Knitting needles and forks make good alternatives)
//Step 1// Ball Beginnings
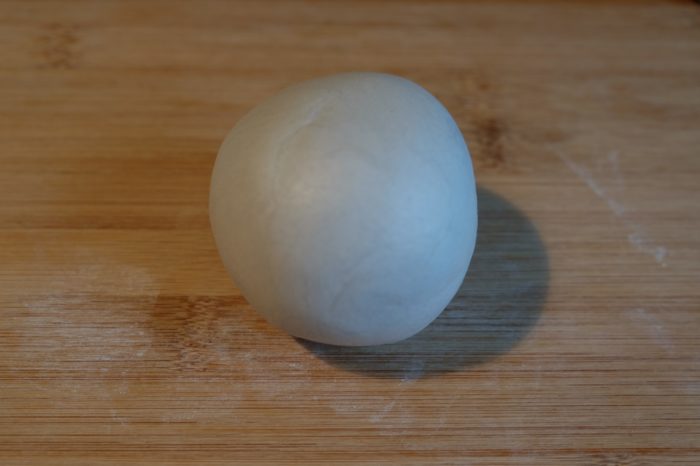
Break off a lump of clay from your block and roll into a ball. The amount of clay you take will depend on how large you’d like your pot.
//Step 2// Thumbs the Word
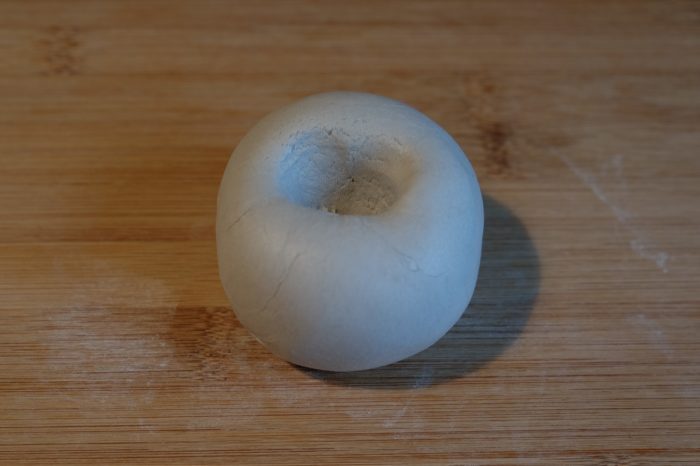
Gently push your thumb into the ball, being careful not to push all the way through your pot – it needs a bottom after all!
//Step 3// Pinch, Pinch, Pinch
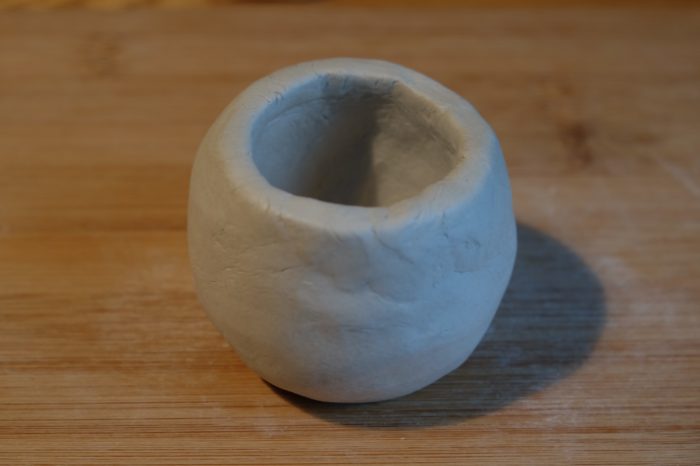
Pinch the clay as you slowly turn the pot so the inside becomes bigger and the sides higher as you go. Keep on pinching until you are happy with the shape. Smooth with your fingers.
//Step 4// Texture Time
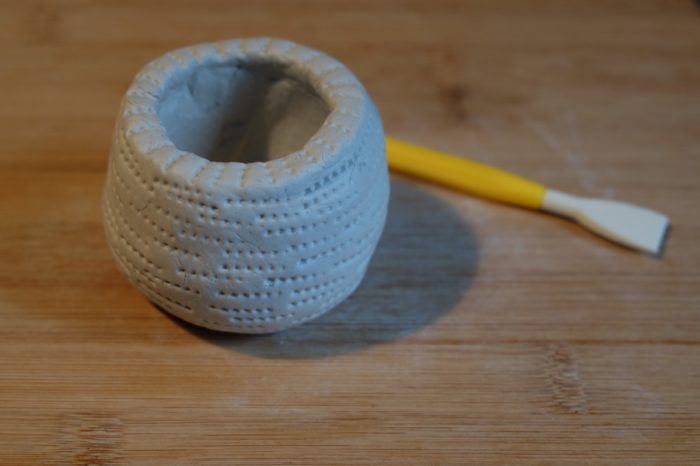
Now you have a nice even pinch pot, use your tools to add some lovely texture and personality.
//Step 5// Dry & Fill
Leave to dry as per the instructions on your clay (24 hours is about average) and then make it home to a lovely plant or anything else you see fit!

